
Every website has different pages that serve a unique purpose. Adding meta tags to these pages will help you optimize your site for better visibility on search engines and attract more visitors. In this blog post, we’ll look at how to add meta tags to a specific page in WordPress.
Yoast is the plugin used to implement meta tags to you page. Meta tags helps your page to look and feel better in the search engine results page this includes meta title, meta description and keywords. Now adding meta tags to your pages is made easy. Follow the steps below.
Navigate to your pages
First you need to find the page you want to add meta tags. Make sure you are logged in as “Admin” in your WordPress site. Under the menu in the side you will find the pages menu item.
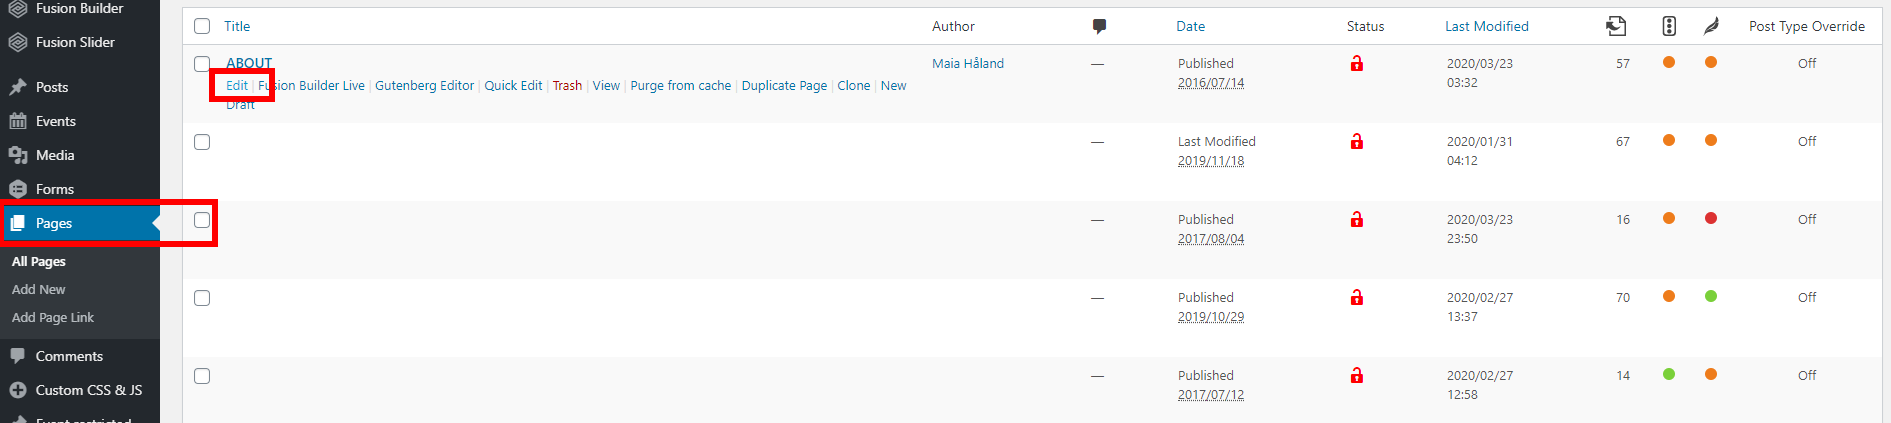
After finding the desired page, click on Edit to open the page editor Yoast tab which is at the bottom of the page.
Adding the Meta Tags
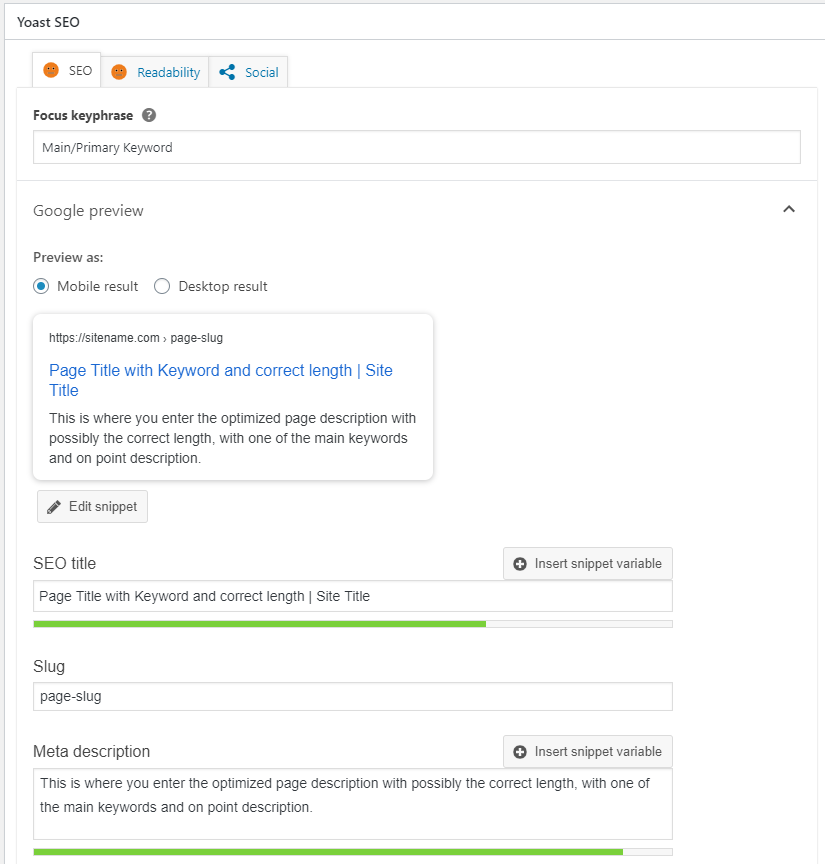
On the Yoast tab, you will find many fields but don’t worry everything will be explained.
1. Adding the Primary Keyword

In this section, you will add the target or focus keyword for the page or post.
2. Checking Google Preview

This will be the preview of how your page will be shown on Google search result. Click on the Edit snippet to add meta title and description.
3. Adding Meta Title and Description
Adding a title and description are pretty straightforward. You just need to copy and paste if you already made the sentences for this fields or just simply type in the texts you want to add. Apply the main keyword or keywords related to your site on these fields to help more on ranking.
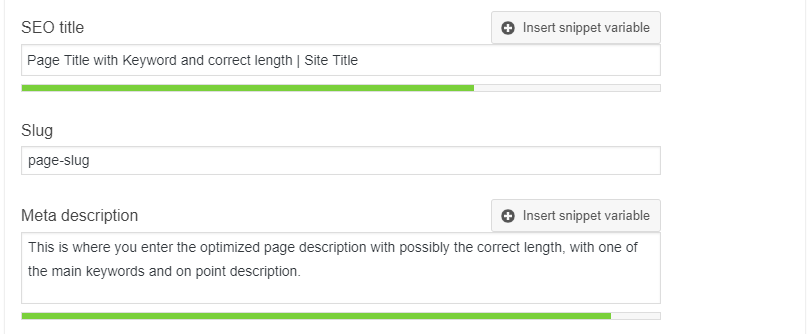
The bar below each field indicates the length of your sentences; Green will be desirable; Orange indicates that it needs more texts or it is more than the desirable length, and Red means there is an error.
Conclusion
Adding meta tags to a specific page in WordPress can help optimize your website for search engine rankings and make it easier for people to find what they’re looking for quickly and efficiently.
Adding meta tags in WordPress should be a breeze! Read more about our marketing tips here!


