WordPress is a popular tool for making websites and is used by many people on the internet. Bloggers like it because it’s easy to use, and you can do much with it.
This guide will show you the step by step on how to write blog posts on WordPress.
Step 1: Logging In
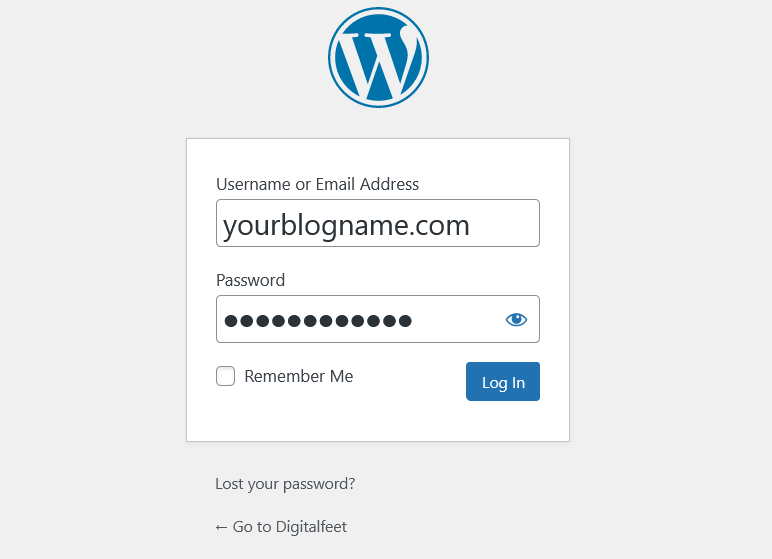
Access Your Admin Dashboard: Go to your WordPress website and add /wp-admin to the end of the URL (e.g., www.yourblogname.com/wp-admin).
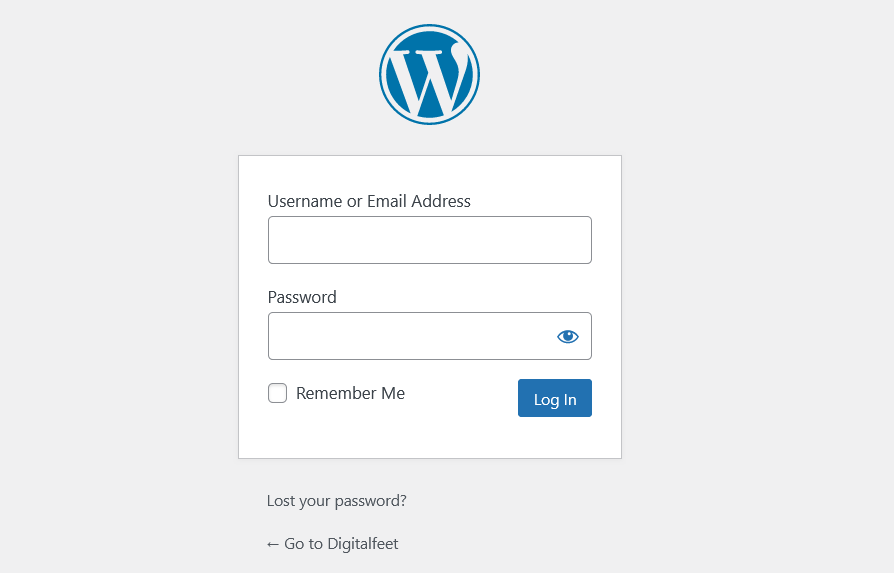
Enter Your Credentials: Use the username and password created during the installation process to log in.
Step 2: Accessing the Posts Section
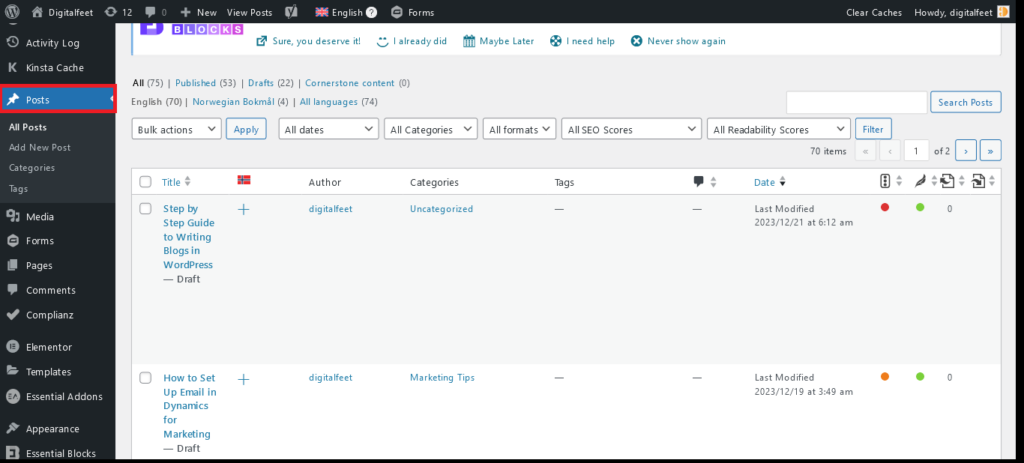
Navigate to Posts: Once you’re in the dashboard, you’ll find a menu on the left side. Click on ‘Posts’.
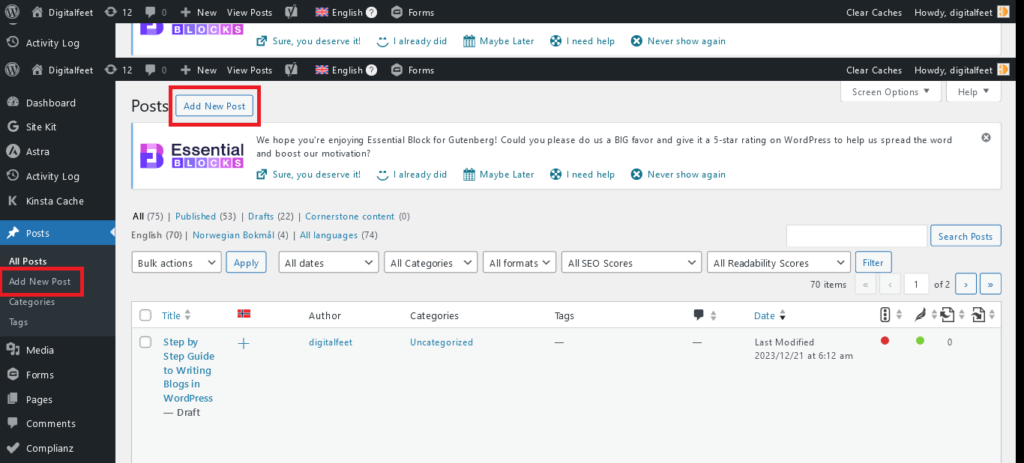
Add New: Above the list of existing posts, there’s an ‘Add New’ button. Click this to start a new blog post.
Step 3: Writing the Title and Content
Insert Your Title: At the top, where it says, ‘Add title’, enter the title of your blog post.
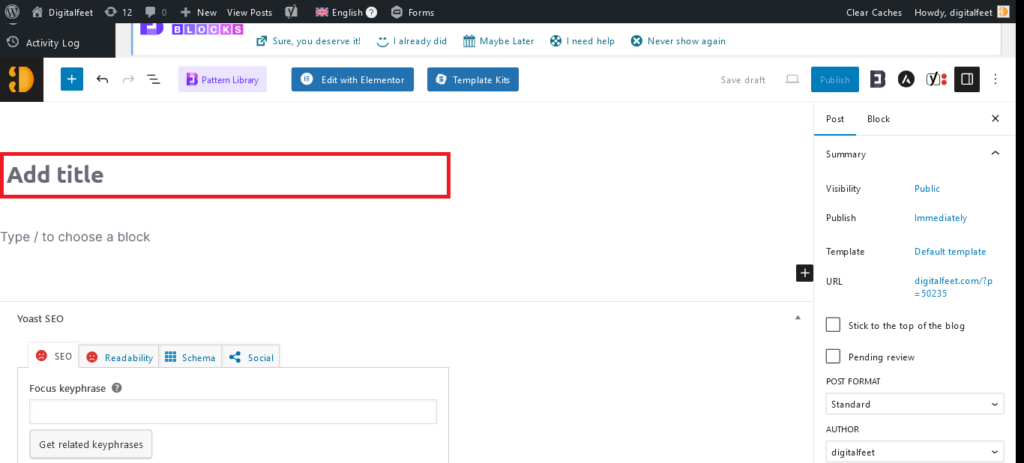
Use the Content Area: Below the title is the content area where you can write your blog. You can use the toolbar to format your text, add links, and insert media.
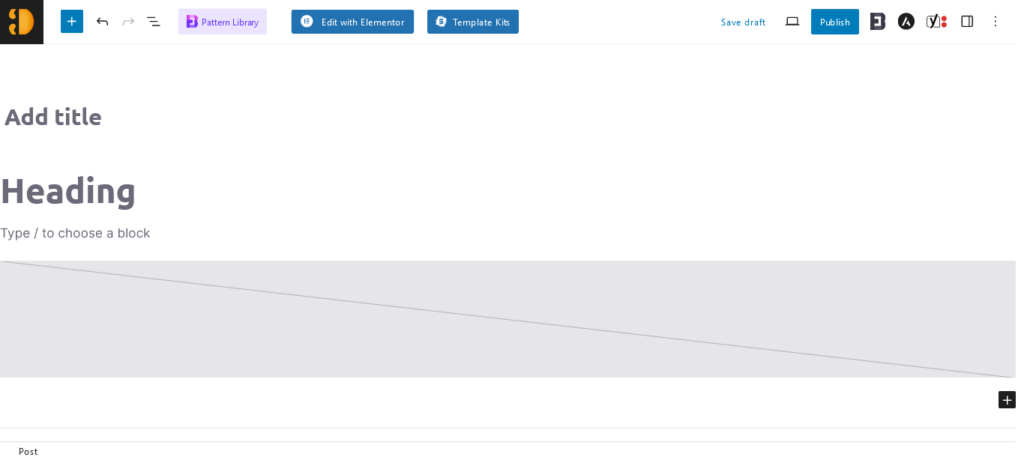
Step 4: Adding Media
Add Images or Videos: Click the ‘Add Media’ button above the toolbar to insert images or videos into your post. You can upload files from your computer or choose from the WordPress media library.
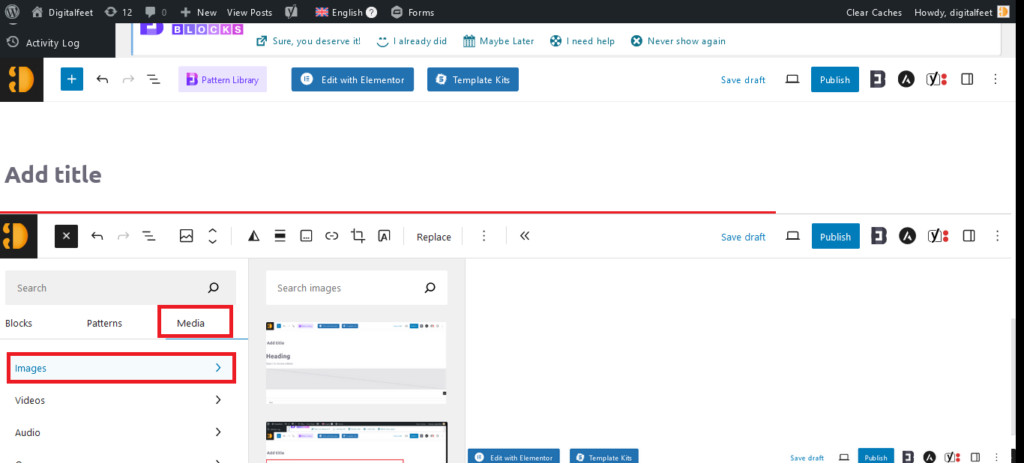
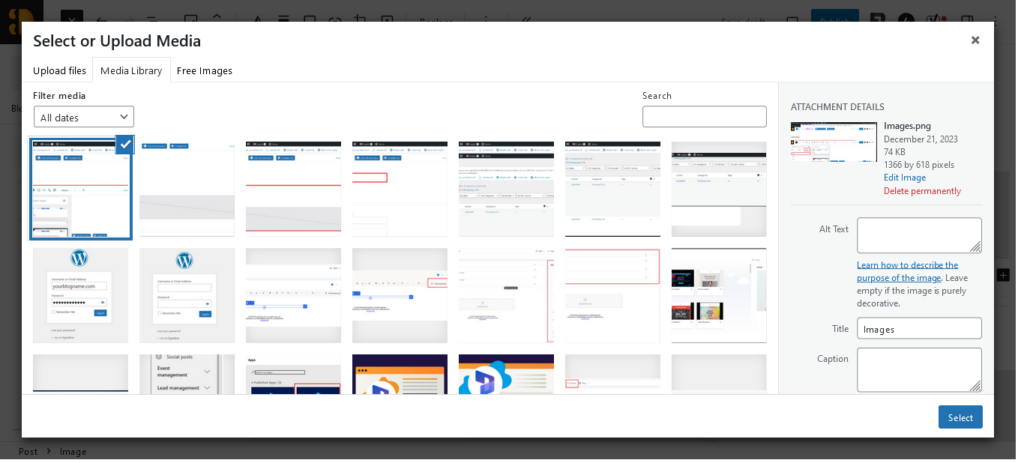
Place Media: After uploading, you can choose the size and alignment for your media then click ‘Select’ to add it to your content.
Step 5: Organizing Your Content with Headings and Formatting
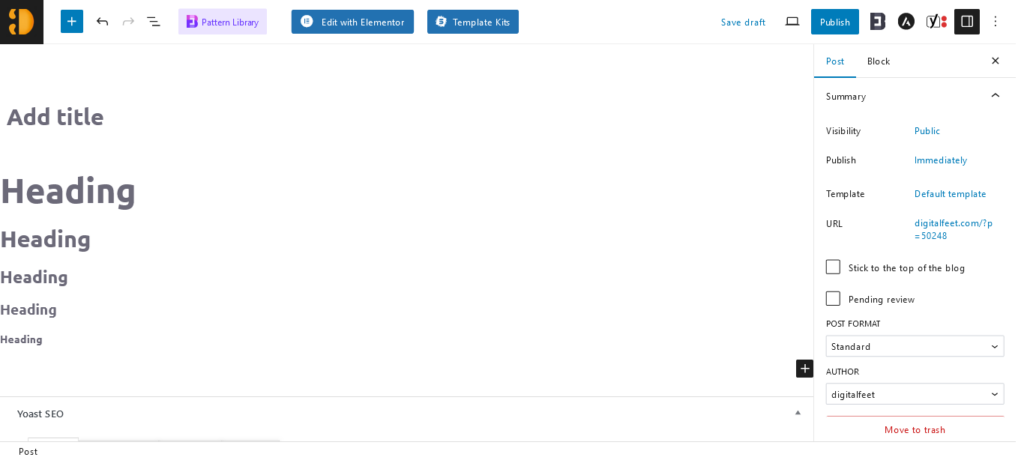
Applying Headings: Use header tags (H1, H2, H3, etc.) to structure your content. These are crucial for readability and SEO.
Just click the “+” sign and select “Headings”
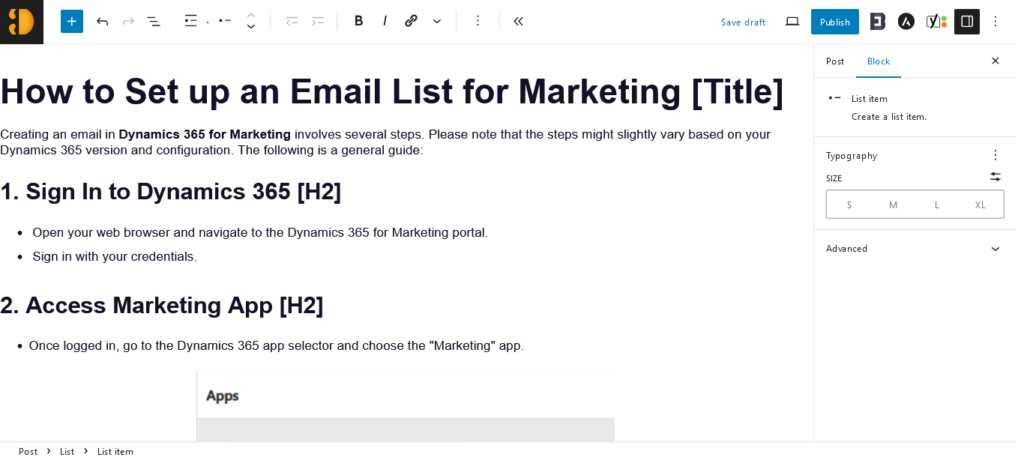
Formatting Text: Use the bold and italic options for emphasis. Bulleted or numbered lists can help make your content easier to scan.
Step 6: Using Categories and Tags
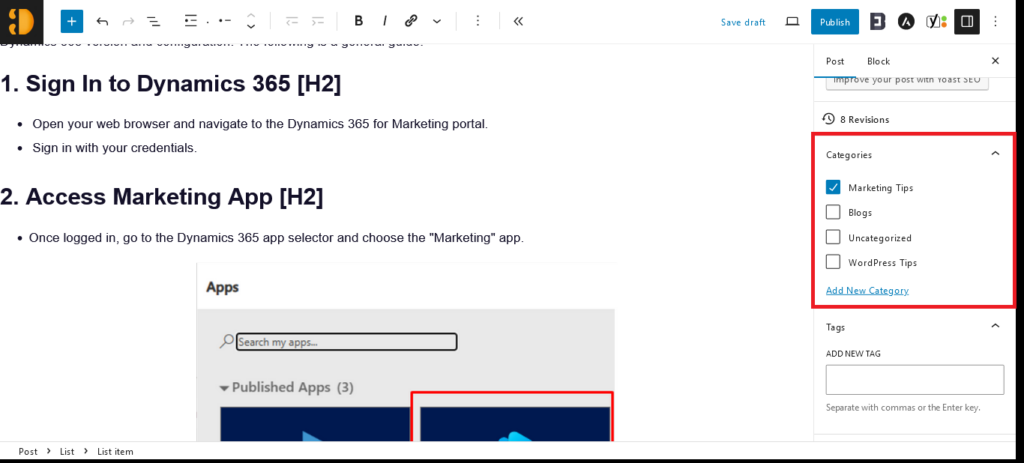
Select Categories: On the right-side panel, you’ll see the ‘Categories’ section. Select an existing category or add a new one to help organize your posts and make it easier for readers to find related content.
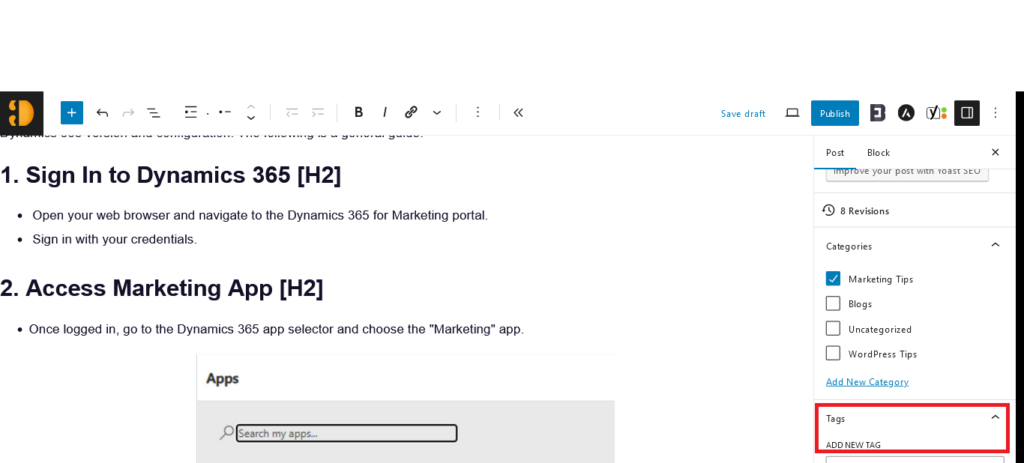
Add Tags: Below the Categories, there is a ‘Tags’ section. Add a few relevant tags to describe your post’s specific details.
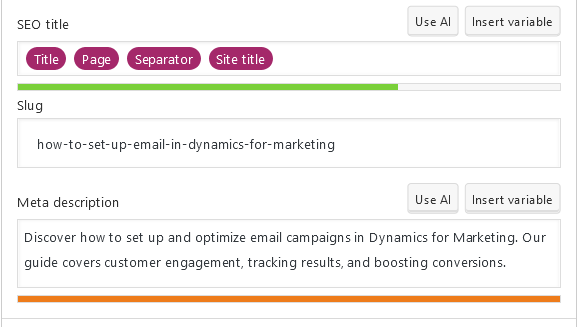
Step 7: Setting Up SEO and Readability
EO Title and Meta Description: Write a custom SEO title and meta description to make your post more appealing in search engine results. These should include your focus keyword and give a concise preview of your content.
Step 8: Previewing and Editing
Preview Your Post: Always preview your post by clicking the ‘Preview’ button at the top of the editor. This gives you a chance to see how your content will look live and make sure everything is formatted correctly.
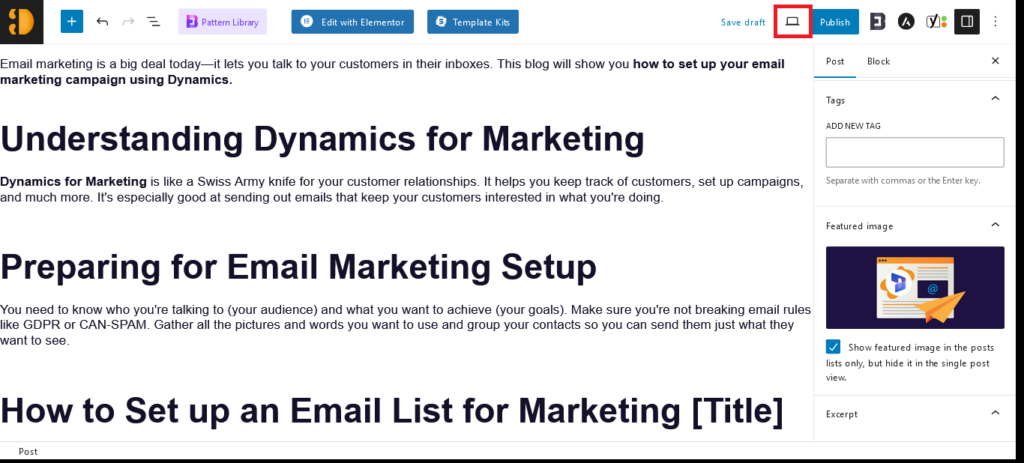
Edit if Necessary: Make any necessary adjustments based on your preview. Check for spelling and grammar issues, image alignments, and the flow of the content.
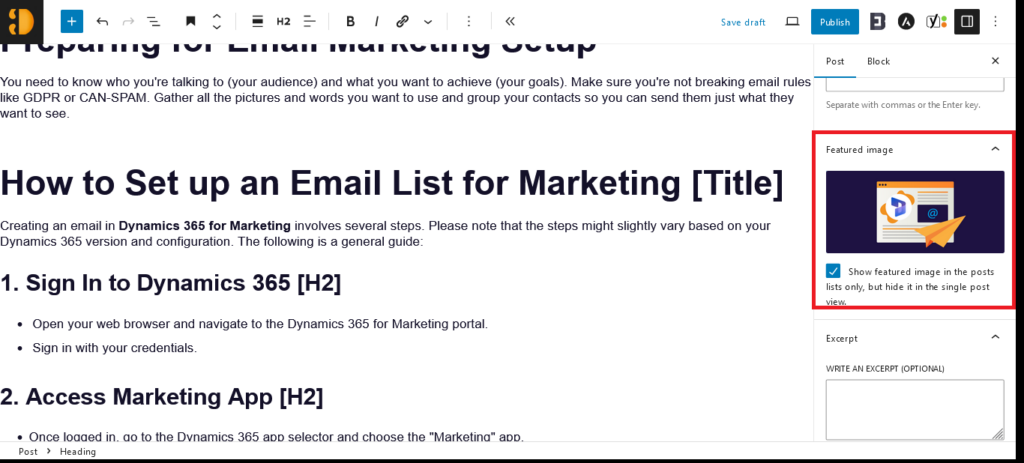
Step 9: Adding a Featured Image
Set a Featured Image: In the same right-side panel, you will find the ‘Featured Image’ section where you can set an image that represents your post. Featured images appear on your blog page and when your posts are shared on social media.
Step 10: Scheduling or Publishing
Publish Immediately: If your post is ready to go live, you can click the ‘Publish’ button.
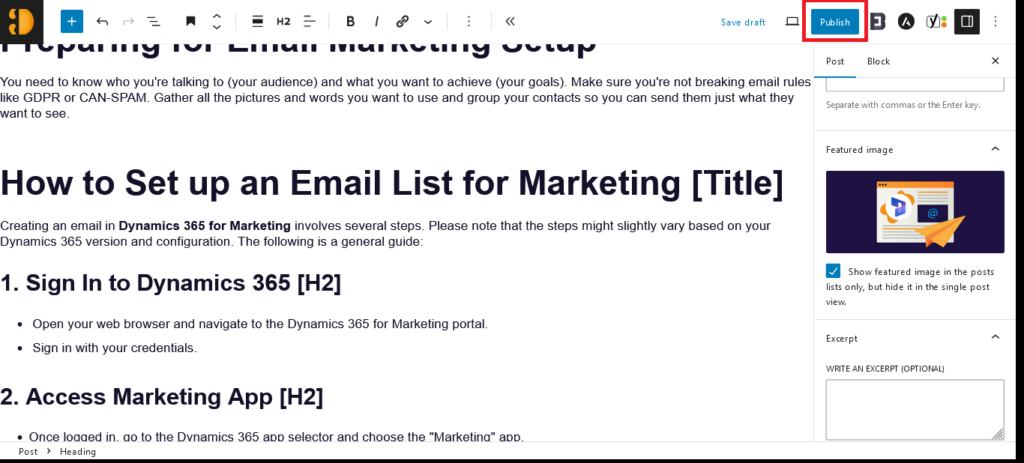
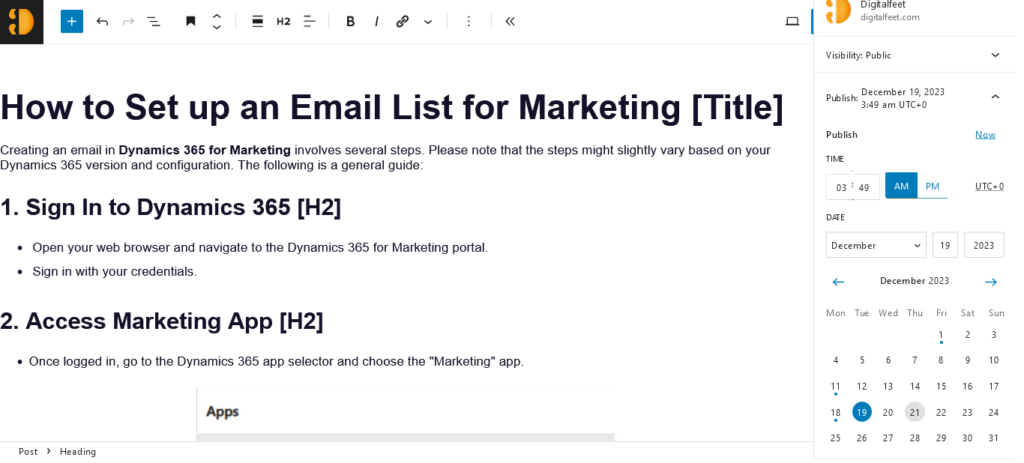
Schedule for Later: If you want to publish your post at a future date and time, click on ‘Edit’ next to ‘Publish immediately’ and set the date and time you want it to go live.
Conclusion
Writing a blog post in WordPress is a straightforward process that opens up a world of possibilities regarding content creation and audience engagement.
Following this step-by-step guide, you can ensure your blog posts are well-written and well-represented online with the necessary SEO and formatting considerations. Happy blogging!


