Adding videos on your website is a good way to make visitors stay longer and spend more time on each page. This can indirectly help improve your website’s search engine optimization (SEO).
Let’s explore this basic step-by-step guide on how to add a YouTube video to your webpage using Elementor!
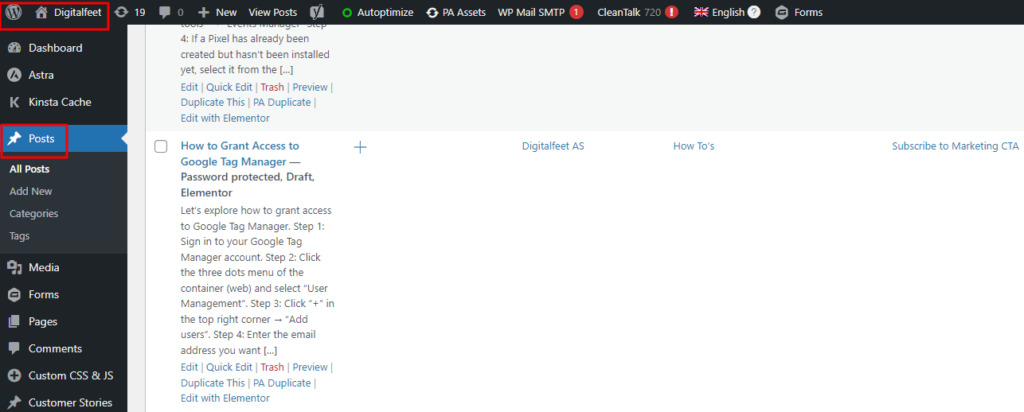
Step 1: Go to WordPress dashboard. Click on “All Post.”
Select which post you want to add a video.
Step 2: Drag and Drop the Video Widget
In the Elementor editor, you will find different widgets on the left-hand panel. Look for the “Video” widget and drag it to the section where you want to add the YouTube video.

Step 3: Enter the YouTube Video URL
In the Video widget settings, you’ll find a field labeled “YouTube URL“. Copy the URL of the YouTube video you want to embed and paste it into “Link” field.
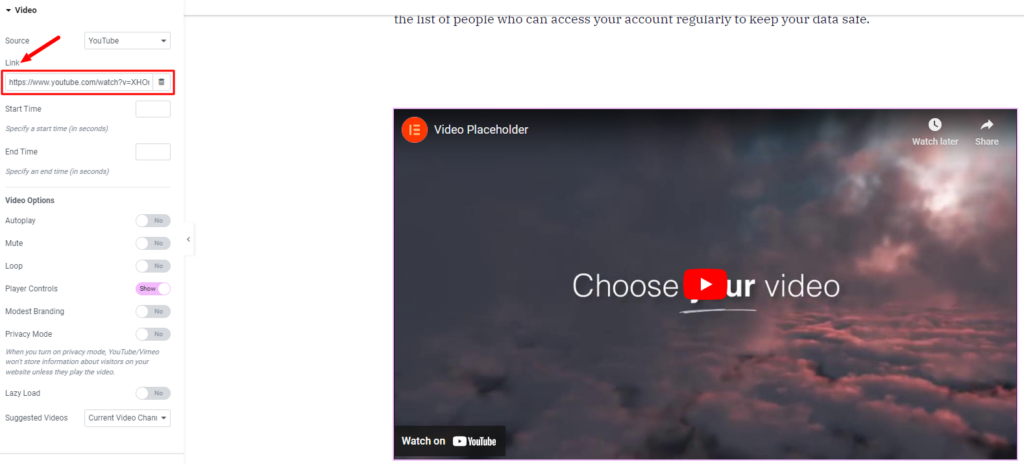
Step 4: Configure the Video Widget
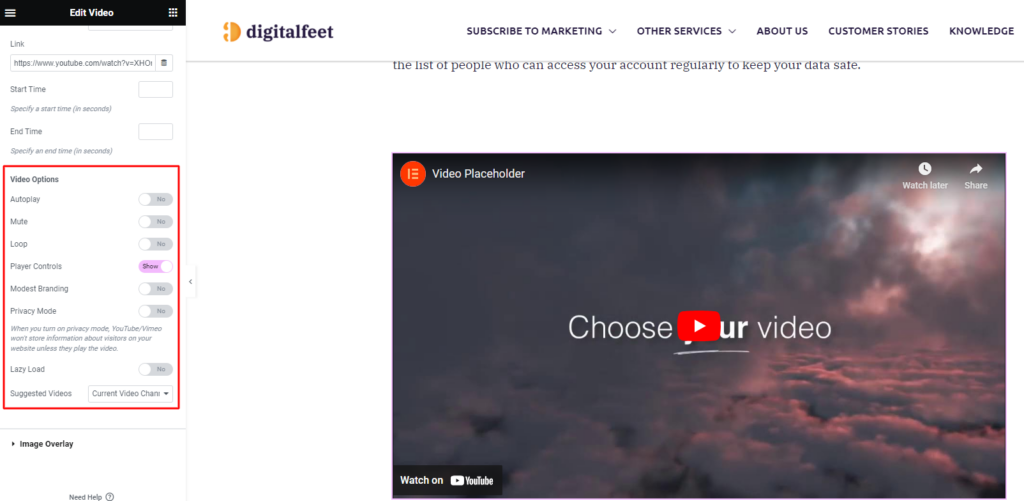
After dropping the Video widget, you’ll see its settings in the left-hand panel. Click on the “Video” widget to configure its settings. You can choose the video’s start and end time, enable or disable video controls, autoplay, and more. Adjust these settings according to your preferences.
Step 5: Style the Video Widget (Optional)
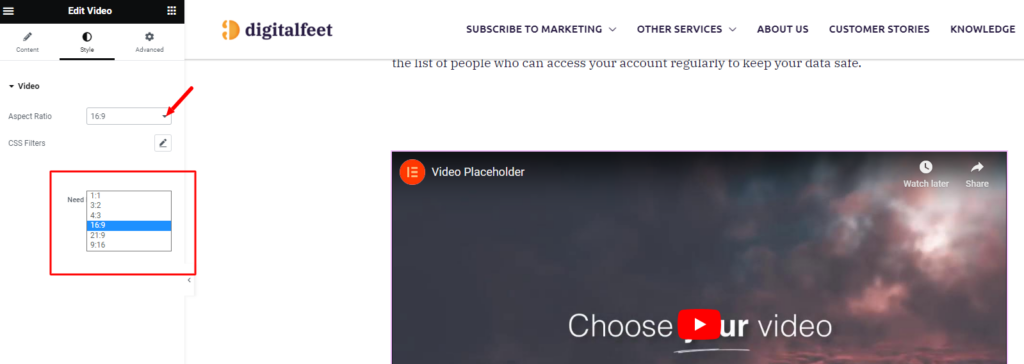
If you want to further style the video widget to match your webpage’s design, you can explore the styling options in the Style tab. Here, you can change the video widget’s dimensions, alignment, colors, and other visual aspects.
Step 6: Publish
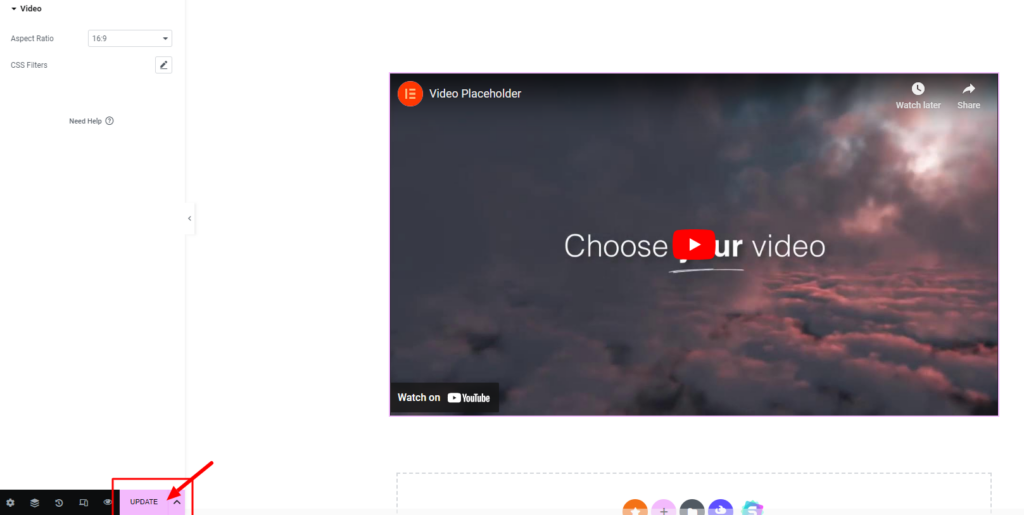
If everything looks good, click the “Update” button to save your changes and publish the page.
Conclusion
This is how easy it is to add a YouTube video to your webpage using Elementor. Make sure to follow the steps carefully!


