
If you have a website with lengthy pages, creating jump links can significantly improve user experience.
In this blog, we’ll cover How to Jump to Sections with Elementor. By implementing this technique, you’ll provide clear navigation pathways within your content, allowing visitors to quickly access the information they need.
Let’s explore how to implement this within Elementor.
What are Jump Links (Anchor Links)
Think of jump links as shortcuts on a webpage. They’re like little bookmarks within your content! You click a jump link (usually in a table of contents or a button), and you instantly “jump” to a specific spot further down the page.
Jump Links? Are they even worth it?
Jump links are worth it! They’re like little shortcuts on a website, especially on longer pages. Instead of scrolling endlessly to find what you need, you can just click the jump link.
And you’re instantly taken to the right section. This saves time and makes it way easier to find information on a website.
When to Use Jump Links
Here are some perfect use cases:
- Long FAQ pages: Let visitors skip straight to the question that matters to them.
- “Table of Contents” setups: Great for articles or blog posts with multiple subheadings.
- Product pages: Allow shoppers to jump between descriptions, specs, and reviews.
Okay, How Do I Do This with Elementor?
Let’s break it down into two super simple methods on how to jump to a section of a page on click Elementor:
Method 1: Jumping to a Section Using an Elementor Button
Step 1: Assign a CSS ID to Your Target Section
1. Open the page you’re working on in the Elementor editor.

2. Locate the section you want someone to be able to jump to.

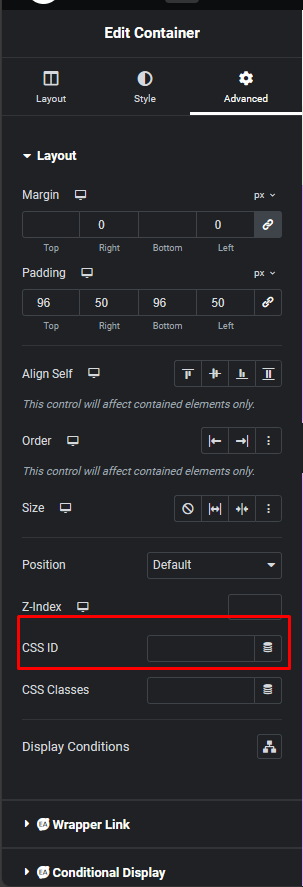
3. Click on the section to open its settings and go to the Advanced tab.
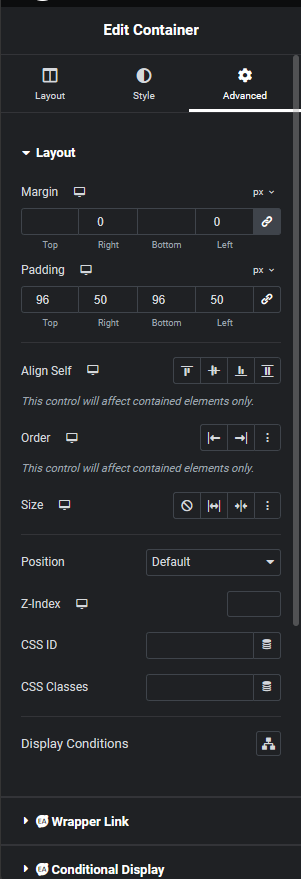
5. Look for the CSS ID field and type in a unique name (e.g., “faqs”, “about-us”, “features”). No spaces or special characters – keep it simple!
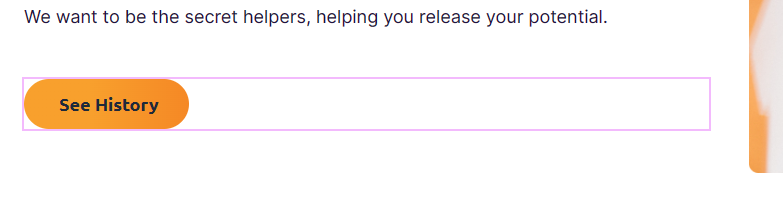
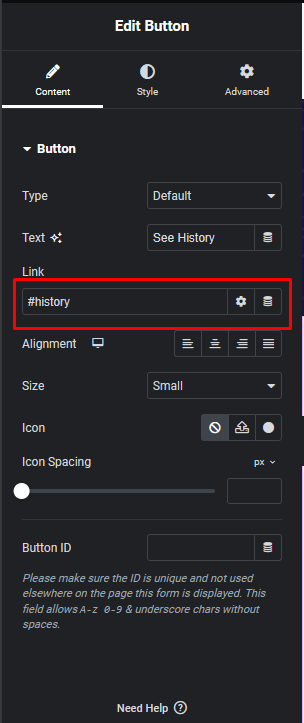
Step 2: Configure Your Button
1. Either add a new button widget to your page or click on an existing button you want to use.
2. In the button’s settings, go to the Content tab
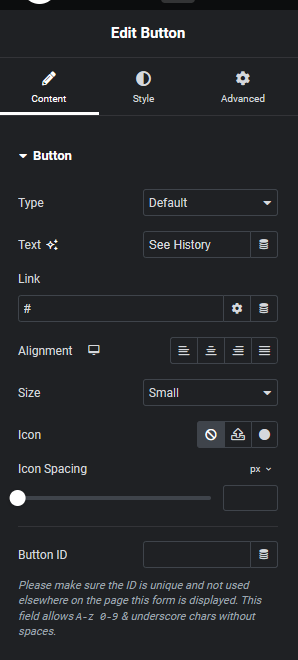
4. Find the Link field and type a “#” symbol followed by the CSS ID you just created (e.g., #faqs).
That’s it! Test your new jump link on your live website. Clicking that button should smoothly take you to the right section.
Method 2: Jumping to a Section Using Text
Step 1: (Same as before) Assign a CSS ID to your target section
Step 2: Create a Text Link
1. Add a Text Editor widget or open an existing one.
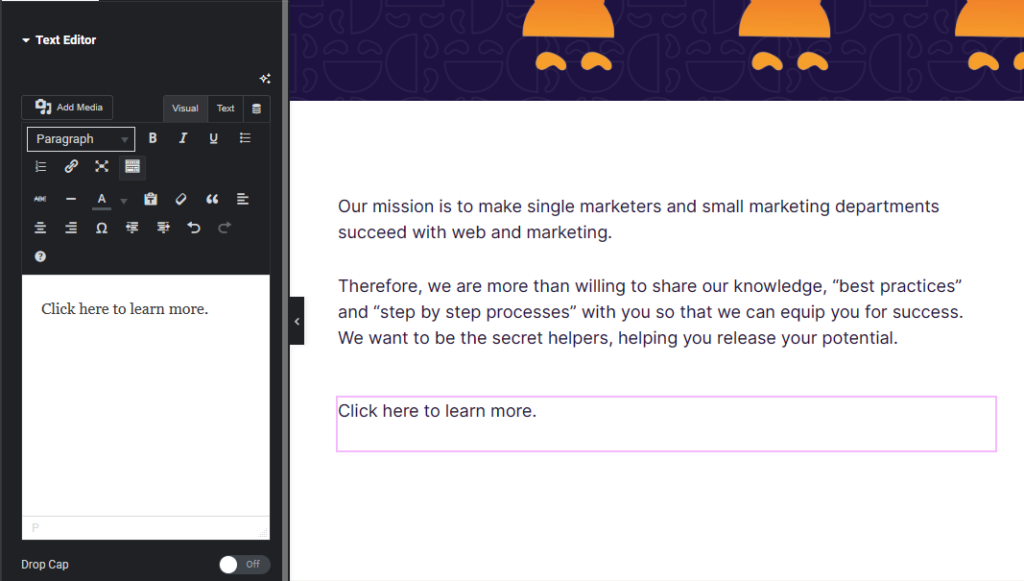
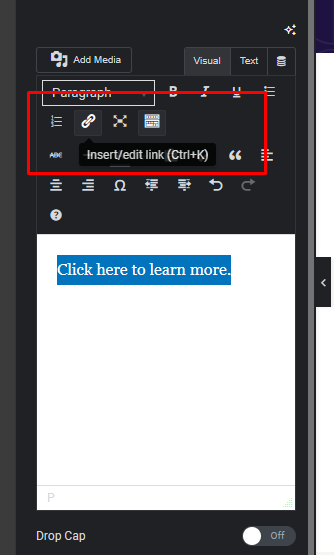
2. Type the text you want to turn into a link (e.g., “Click here to learn more”). Highlight that text and click the “link” icon in the text editor toolbar (looks like a chain link).
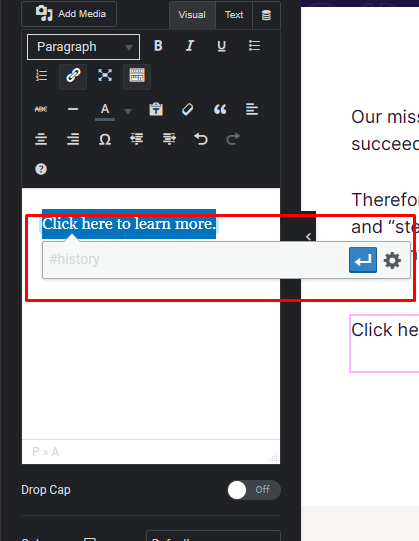
3. Again, type the “#” symbol followed by your CSS ID.
Additional Tips
Smooth Scrolling: Many themes or Elementor add-ons let you enable smooth scrolling for jump links. This makes the jump less jarring.
Get Fancy: You can style your jump links to blend perfectly with your website design – change colors, hover effects, etc.
Conclusion
Jump links are a small feature that makes a big difference in how user-friendly your website is. And, Elementor takes all the technical headaches out of adding them. Give your visitors the gift of easy navigation, and they’ll thank you for it!


