
Your website’s footer is often the last thing visitors see before they leave. That’s why it’s important to make sure your footer is informative and engaging. With Elementor, a popular WordPress page builder, you can easily edit your footer information to make sure it’s perfect for your needs.
Let’s explore this basic step-by-step guide on how to Edit/Update Footer Information with Elementor.
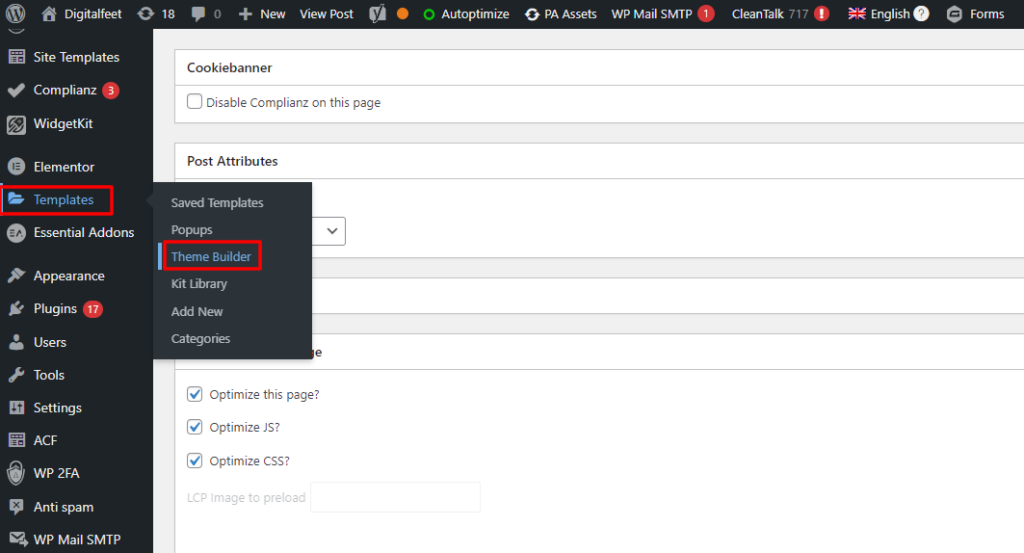
Step 1: Go to WordPress Dashboard
In WordPress dashboard, go to “Templates” and select “Theme Builder“.
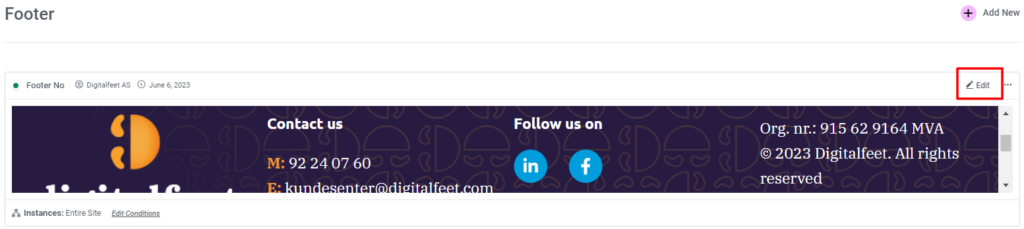
Step 2: Update Footer Information
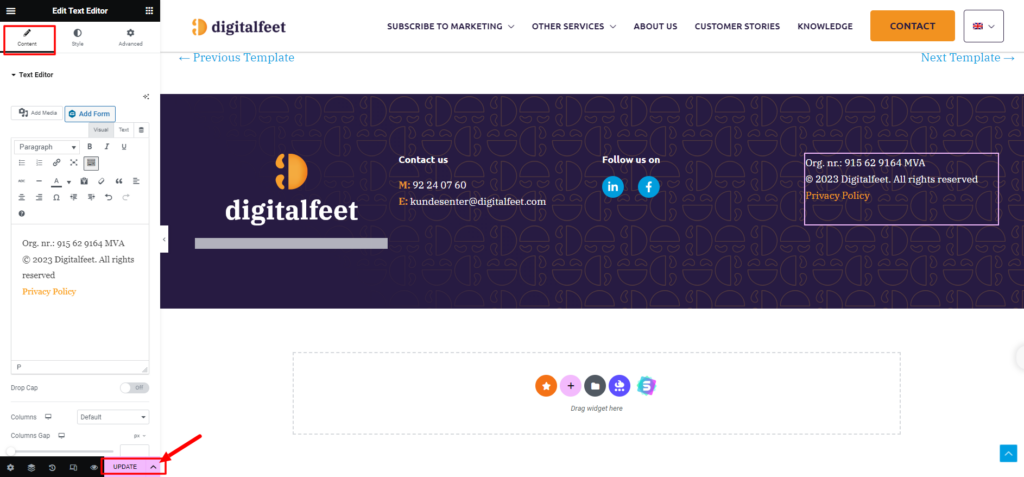
Click “Edit” at the upper right.
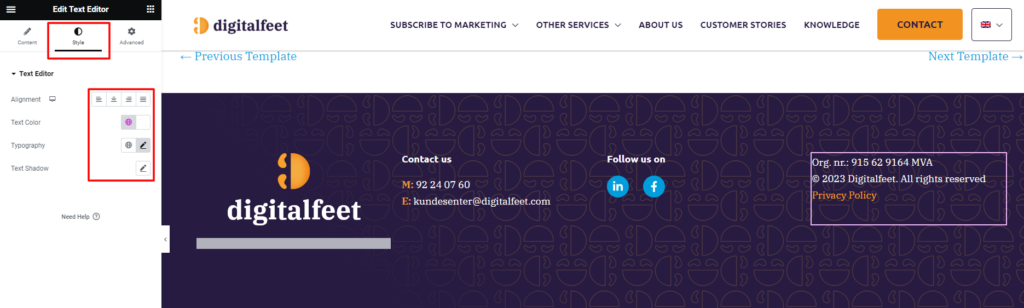
Select the text or element you want to modify within the footer template.
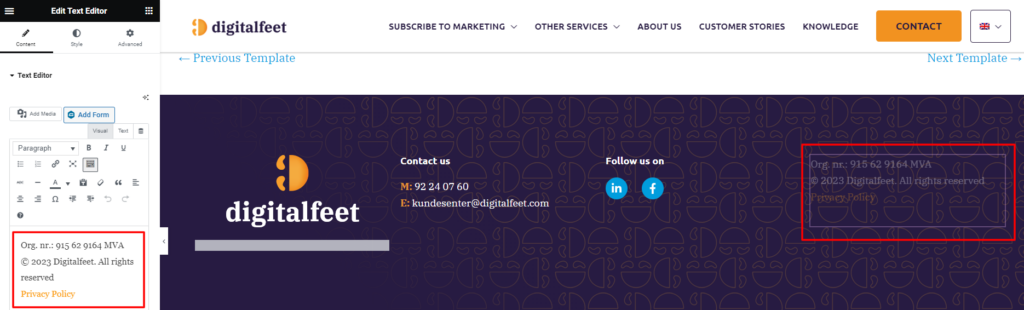
Use the styling options to adjust the font size, color, alignment, and other visual properties of the text or element.
Step 3: Update
Once you are satisfied with the changes made to your footer, click on the green “Update” button to save the changes made to the footer template.
Conclusion
Editing your footer information with Elementor is easy and straightforward. By following the steps above, you can create a footer that is informative, engaging, and visually appealing.
Additional tip: If you have different footer information for different pages on your website, you can create multiple footer templates. Then, you can assign each footer template to the specific pages where you want it to appear.
To create a new footer template, go to Templates > Theme Builder > Footer. Then, click the Add New button.
This is how easy it is to Edit/Update Footer Information with Elementor. Make sure to follow the steps carefully!
Frequently Asked Questions
Can I add dynamic content to the footer, such as recent posts or social media feeds, and how can I do that using Elementor?
To add dynamic content to the footer using Elementor, you can use widgets like “Posts,” “Recent Posts,” or “Social Media Feed.” These widgets allow you to display recent content or social media updates directly in the footer.
How can I create and manage different footers for various sections of my website to ensure they cater to different content needs?
To create and manage different footers for different sections of your website, Elementor Pro’s “Theme Builder” feature can be used. It lets you design multiple footers and assign them to various pages or sections of your website.
What are the best practices for optimizing the footer for SEO and user engagement, and how can these be implemented in Elementor?
For optimizing the footer for SEO and user engagement, best practices include using clear navigation links, providing contact information, and incorporating keywords strategically. In Elementor, ensure your footer has these components, and use the widget settings to optimize each element for better search engine visibility and user interaction.


