
The Facebook pixel is a code snippet that you install on your website. Its purpose is to gather valuable data, enabling you to monitor conversions resulting from Facebook ads, enhance ad performance, create precise target audiences for future campaigns, and re-engage individuals who have previously interacted with your website in some way.
Let’s explore the basic steps on how to install Facebook Pixel easily.
Step 1: Log in to Facebook
Step 2: Go to your Facebook Business Manager
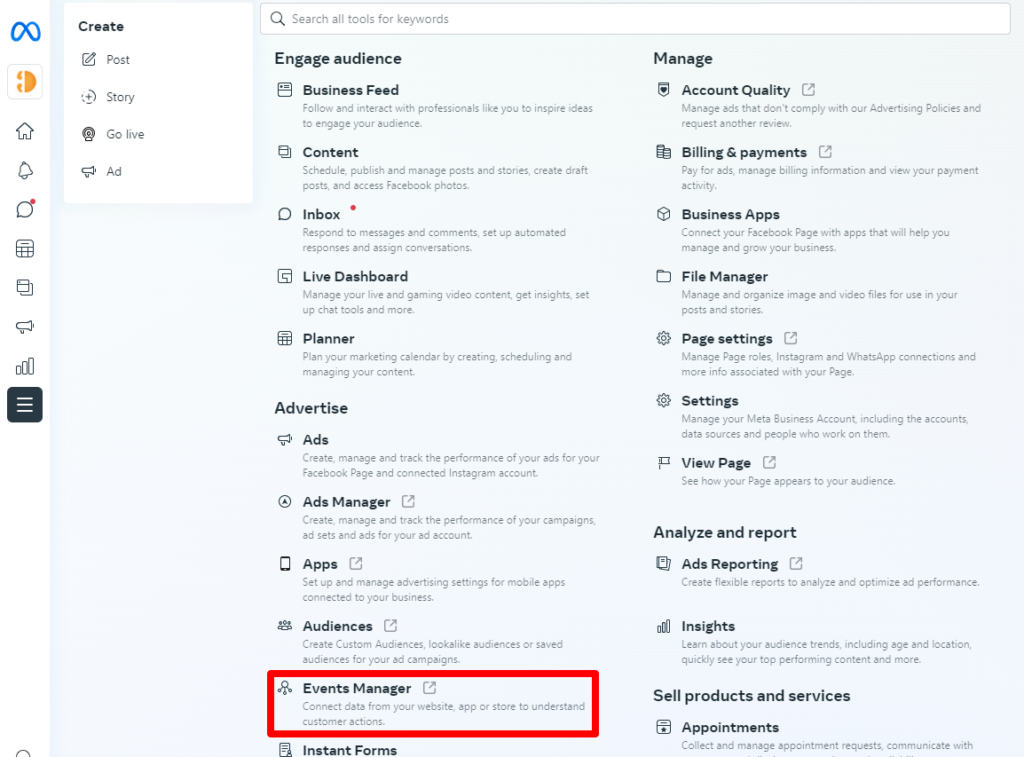
Step 3: From the sidebar, click “All tools” ➝ “Events Manager”
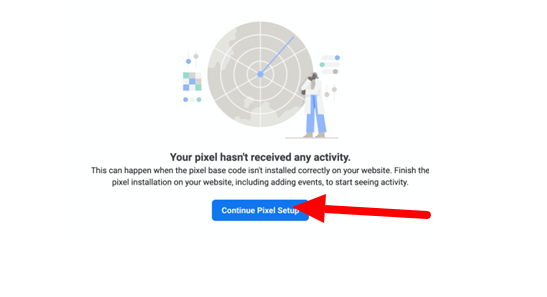
Step 4: If a Pixel has already been created but hasn’t been installed yet, select it from the list on the left and click “Continue Pixel Setup” (then follow jump to step 6)
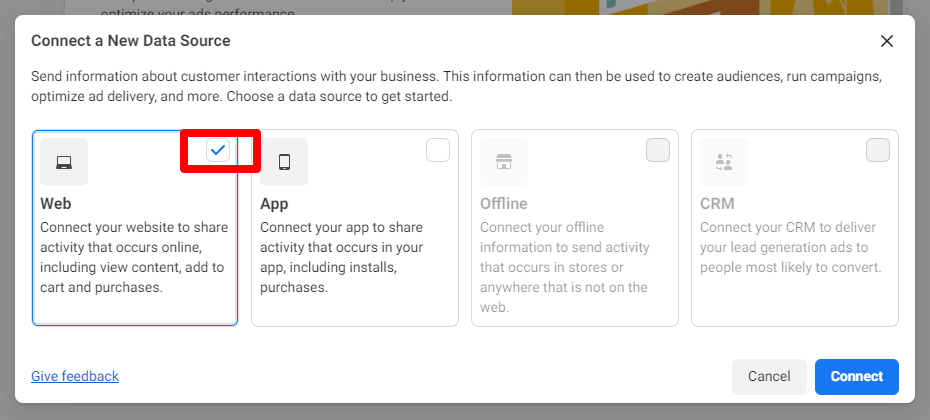
Step 5: If this is the first time creating a Pixel for this business:
a. Click on “Connect Data Sources” or Connect Data

b. Select “Web” from the list, and click “Connect”
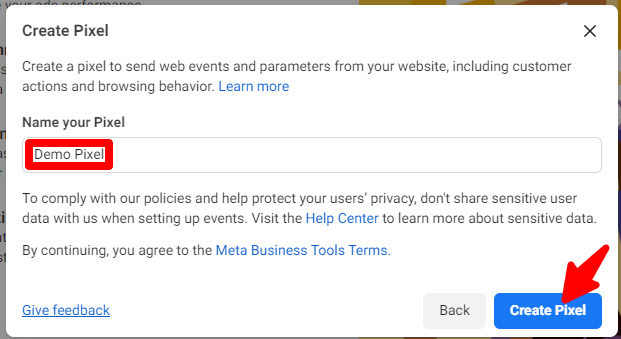
Step 6: Name your pixel and click “Create Pixel”.
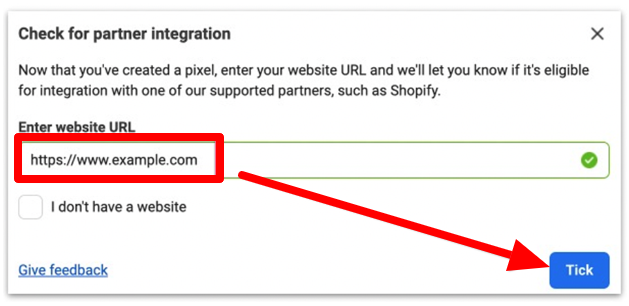
Step 7: Add your website URL and click “Tick”.
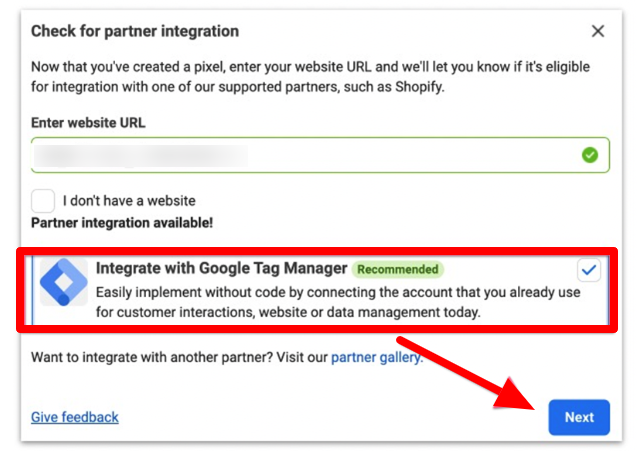
Step 8: If you have set up Google Tag Manager on your site you will be able to see the integration available to you. Select the Google Tag Manager option and click “Next”.
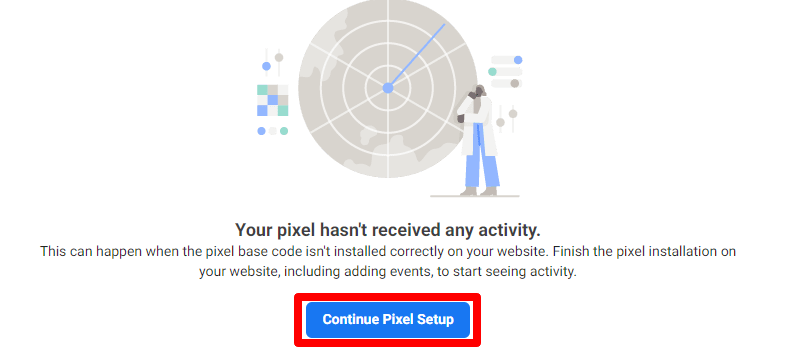
Step 9: On the next screen. Click “Continue” as it’s just a confirmation that your pixel has been set up.
Step 10: Next, select “Data Sources” from the sidebar and click “Continue Pixel Stuo”.
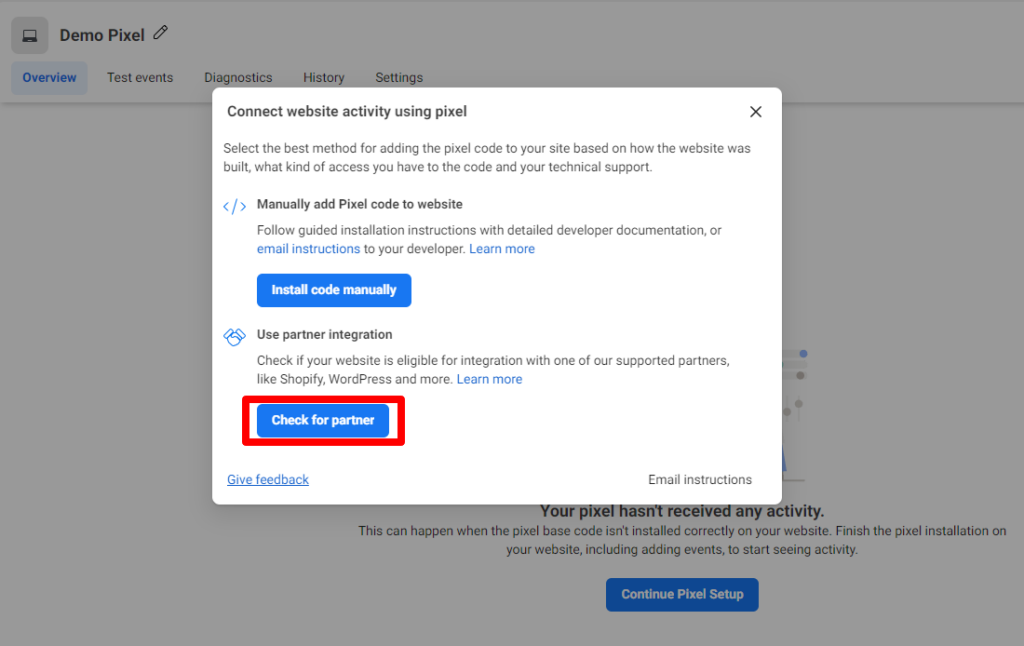
Step 11: You will be presented with two options.
1) Manually add pixel code to website or
2) Use partner integration. Select “Check for Partner”.
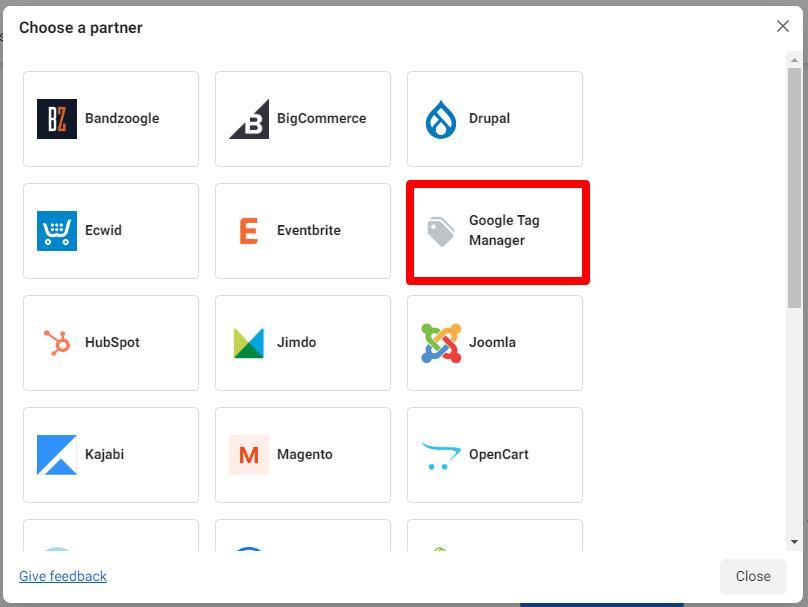
Step 12: Select “Google Tag Manager” from the partner list.
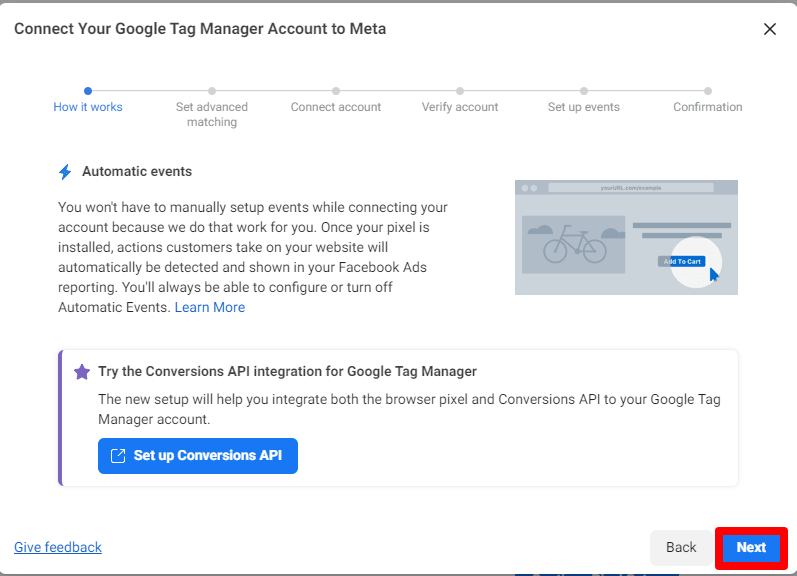
Step 13: You will be taken on the onboarding workflow to connect your Google Tag Manager account to Facebook. In the first screen, click “Next”.
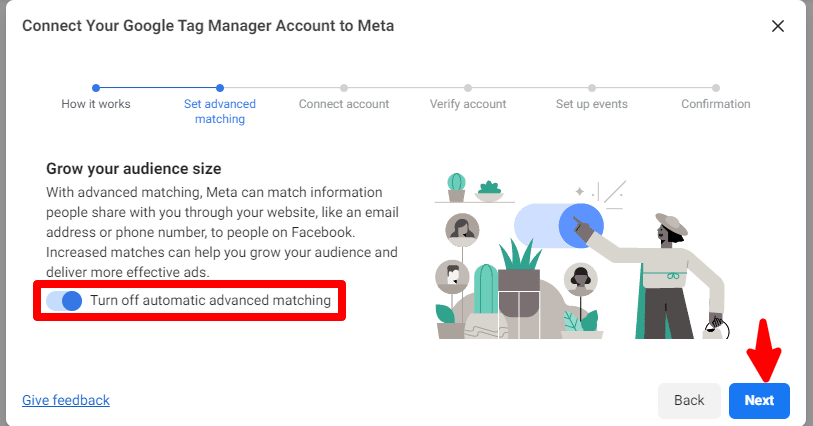
Step 14: You will be asked If you want to turn on “Advanced Matching”. If you are an advanced Google Tag Manager user you might want to configure it now. If not, leave it “Off” and click “Next”:
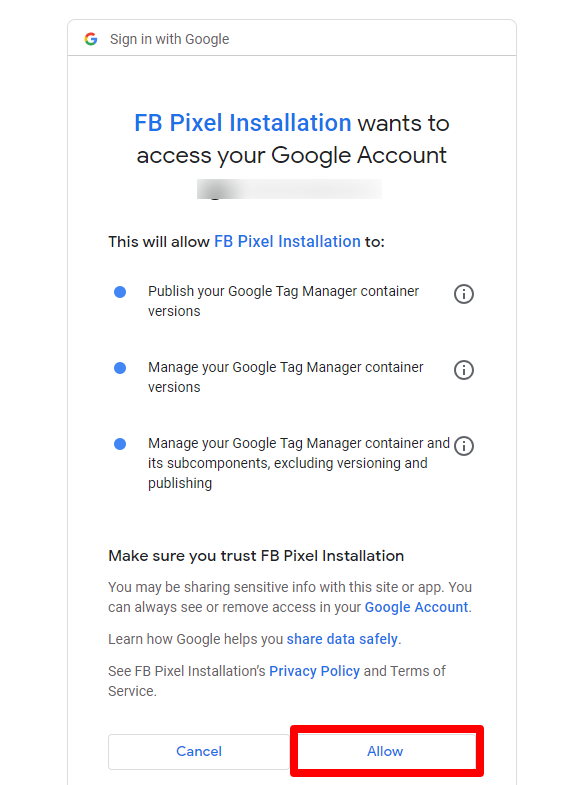
Step 15: Next, you will be prompted to sign in to the Google Account you use for Google Tag Manager and will need to allow Facebook to make changes.

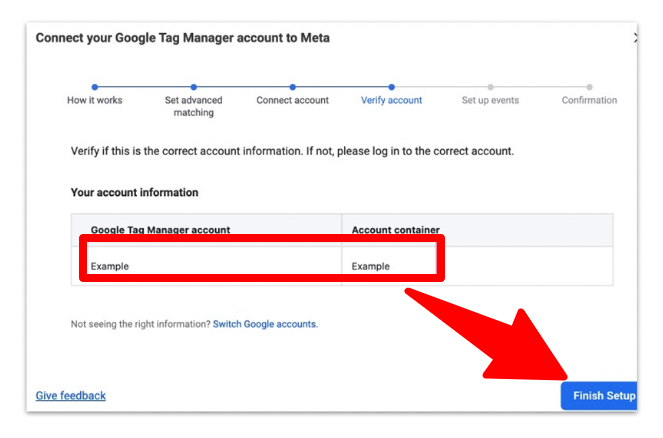
Step 16: Verify that the Google Tag Manager account and container info is correct. Once confirmed, click “Finish Setup”.
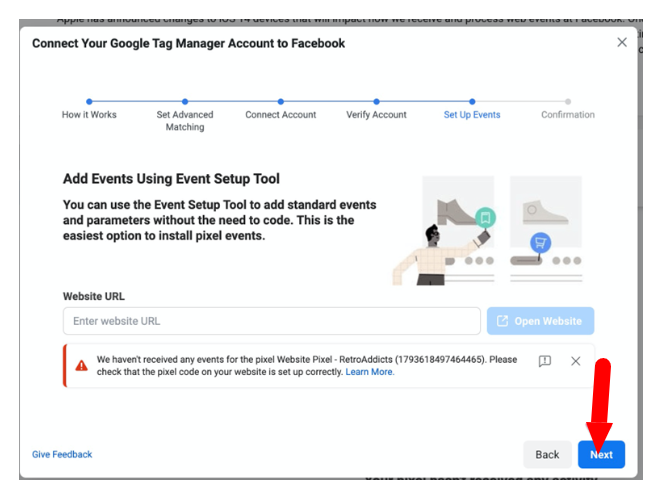
Step 17: Next, you can choose to add events using the Event Setup Tool. Since you just want to add the Pixel Base Code, for now, you will just need to click “Next”.
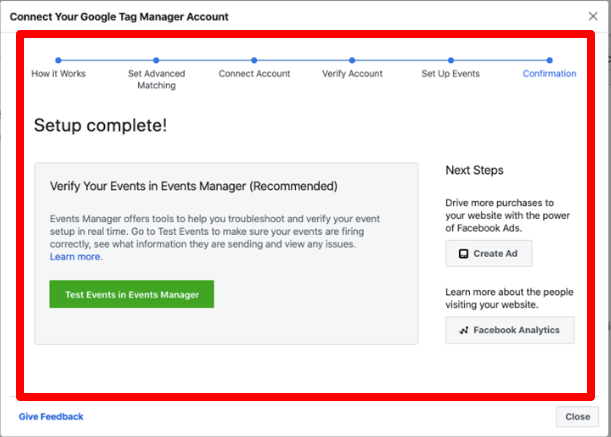
Step 18: Finally, you’ll see a screen confirming that the setup is complete.
Conclusion
This is how easy it is to install Facebook Pixel. Make sure to follow the steps carefully!


